EN
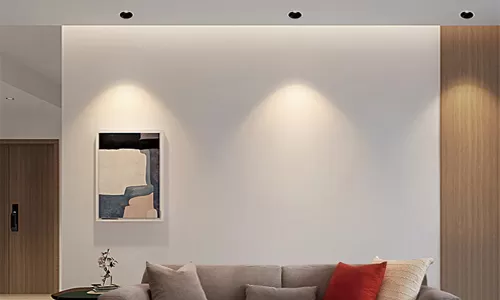
Indoor Light
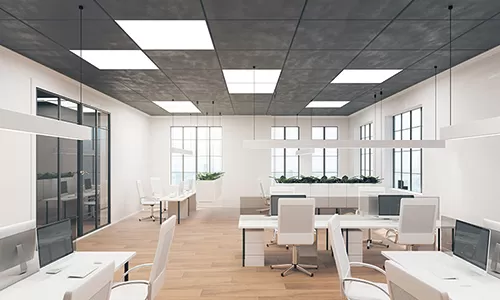
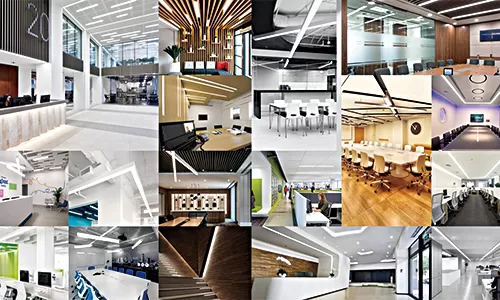
Office/School Light
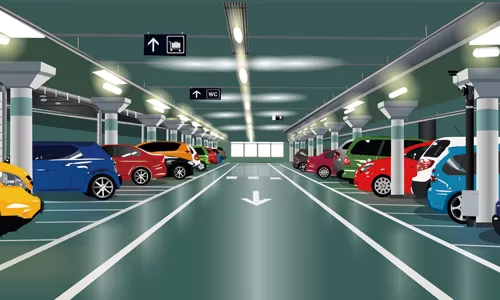
Underground Parking Lot/ Electricity Room
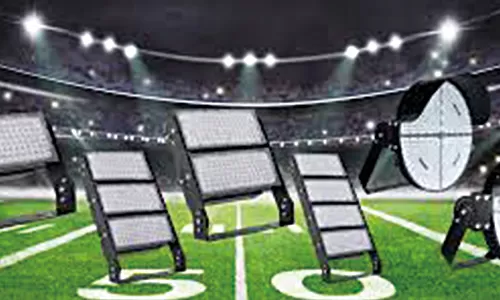
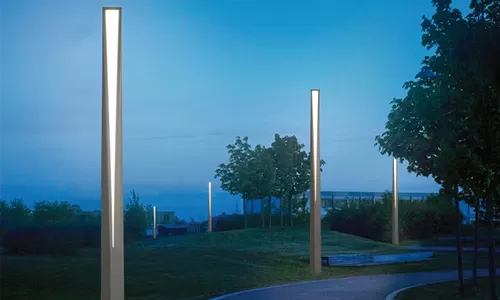
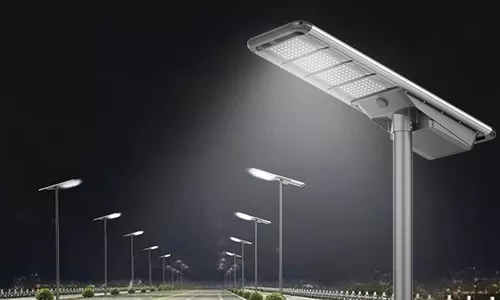
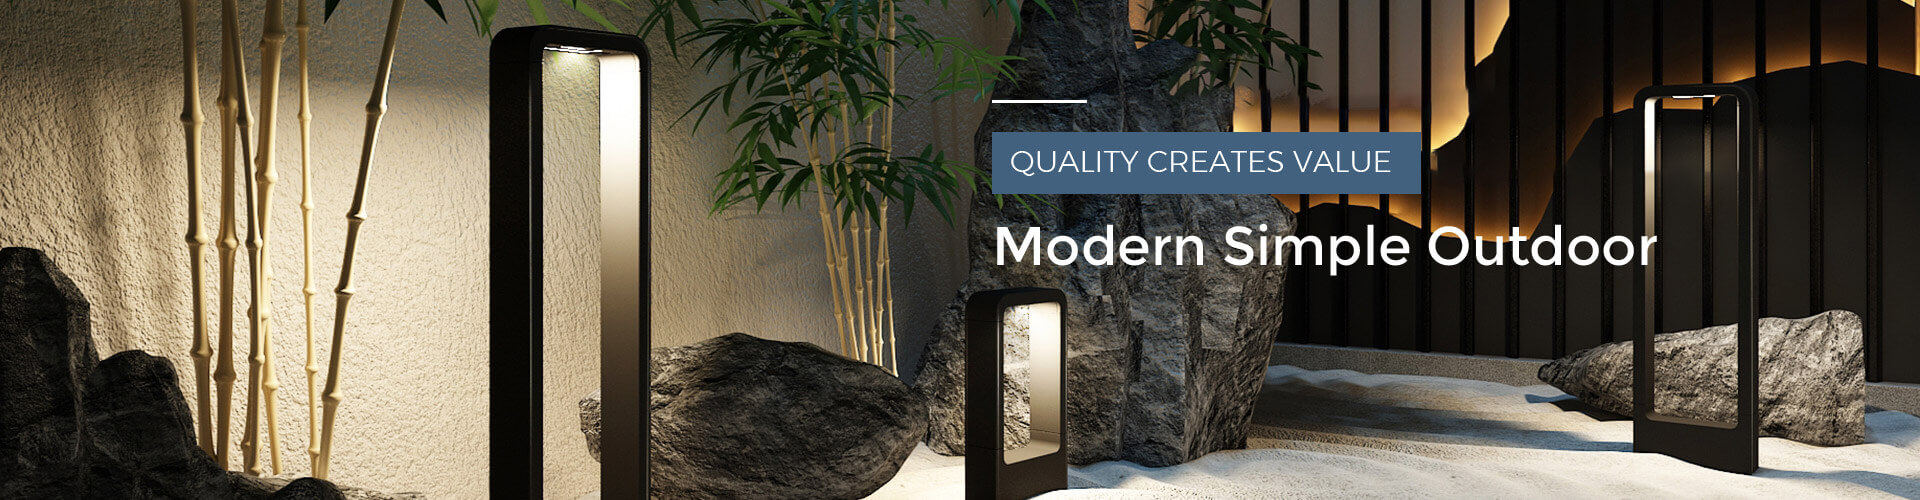
Outdoor Light
LED Strip Light
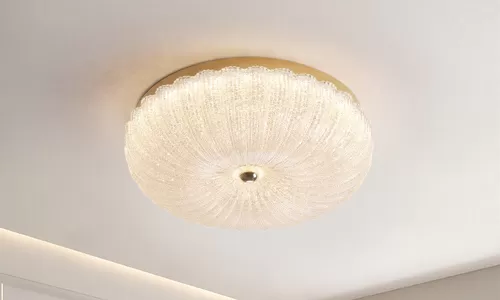
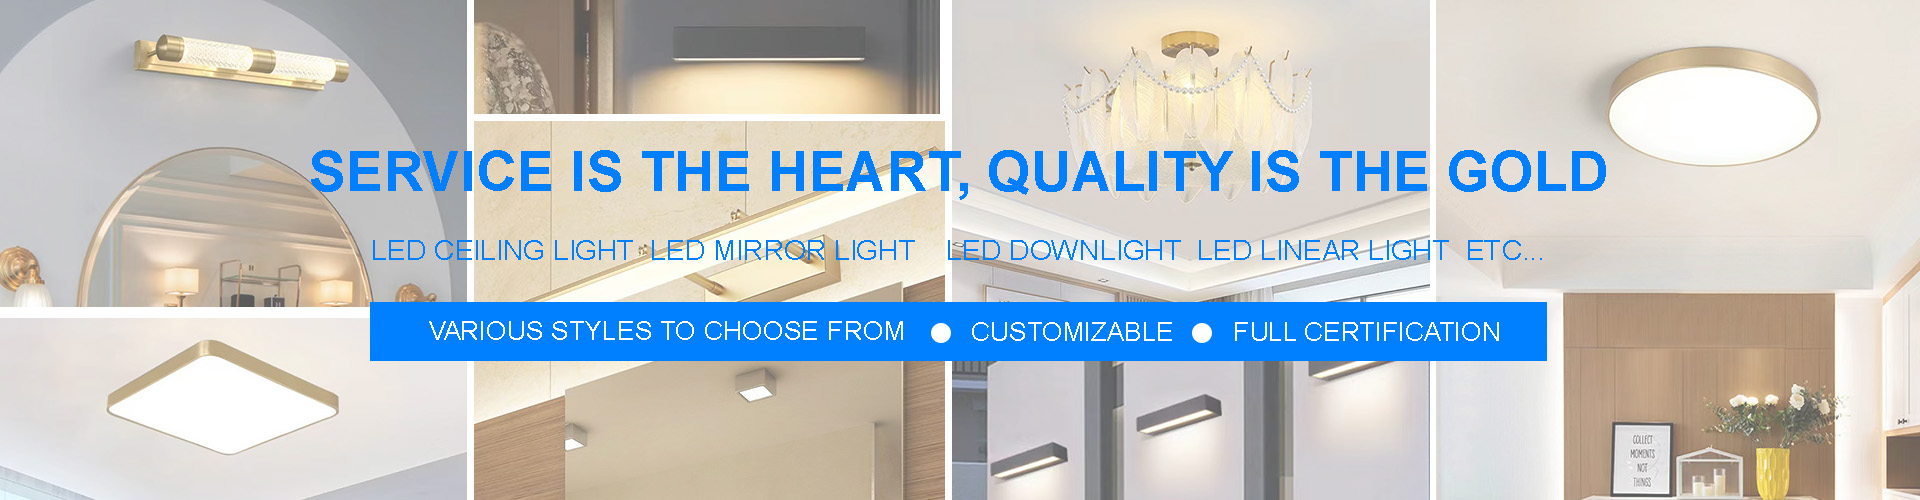
LED Ceiling Light
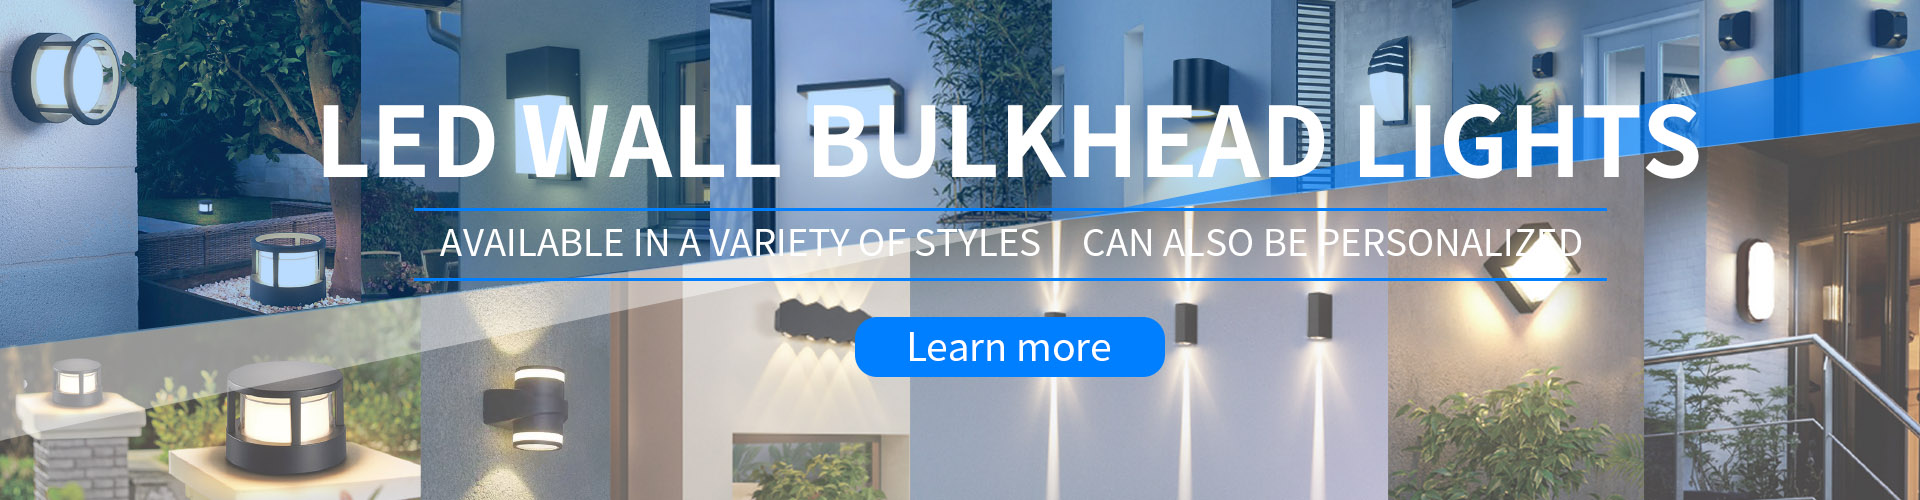
LED Wall Light
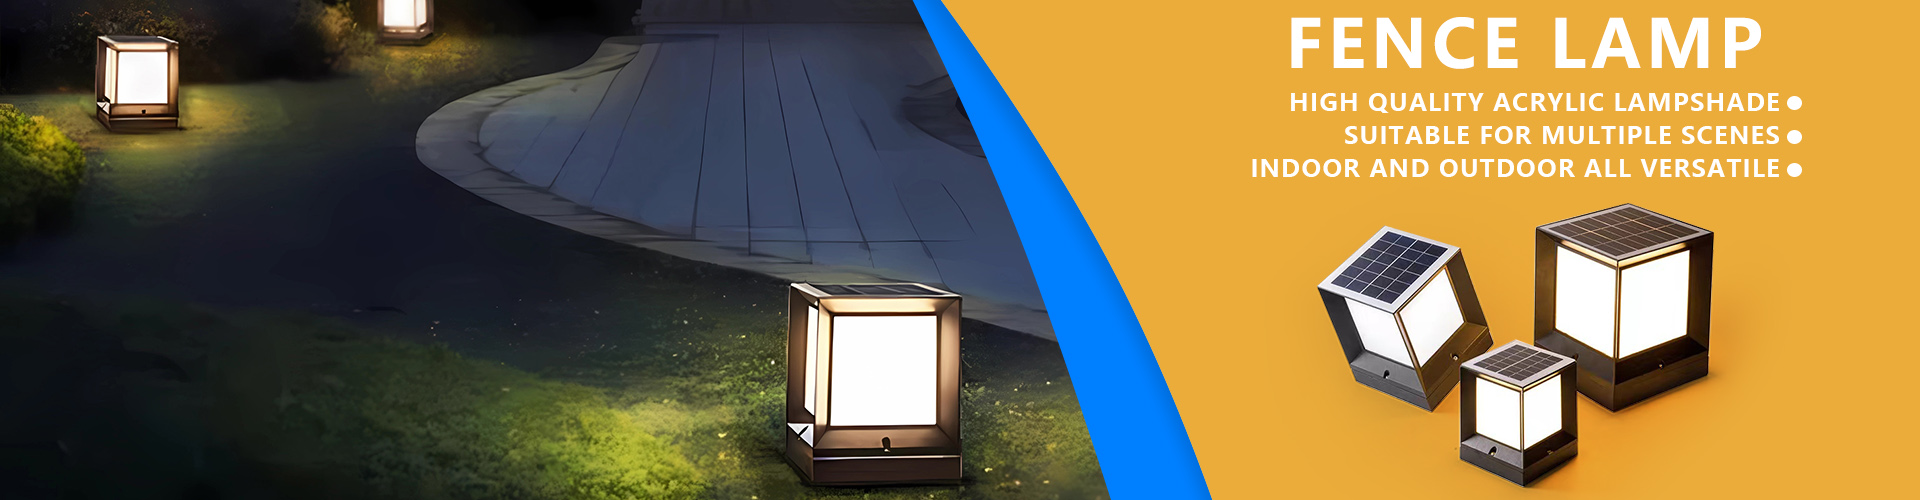
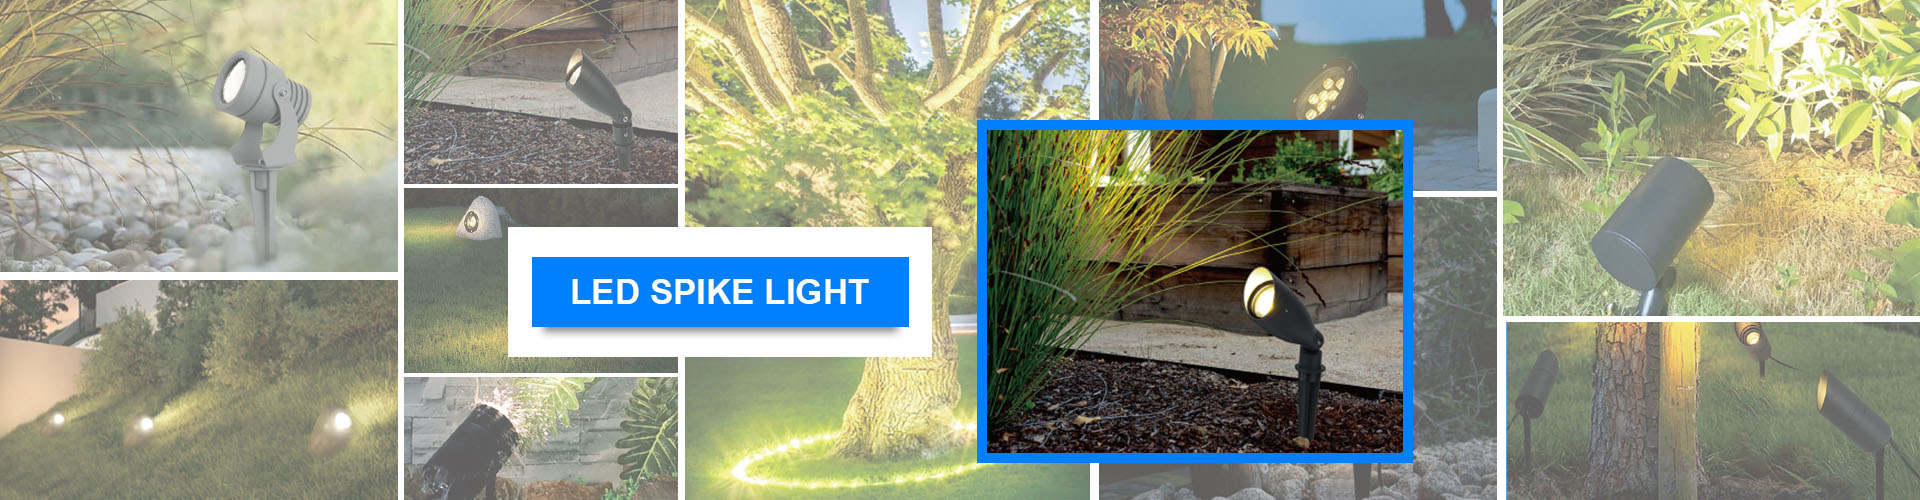
Landscape Light
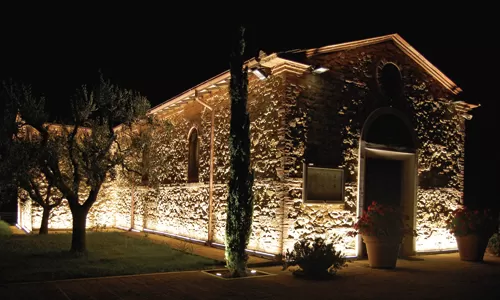
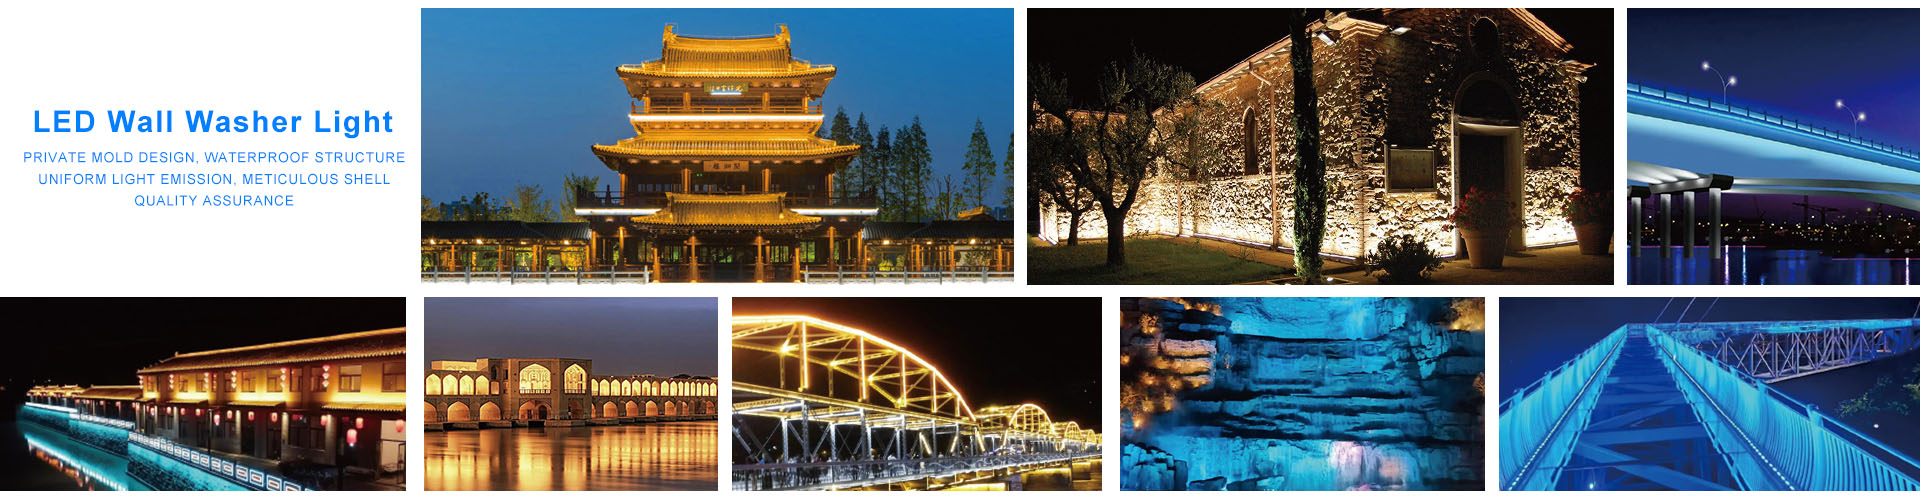
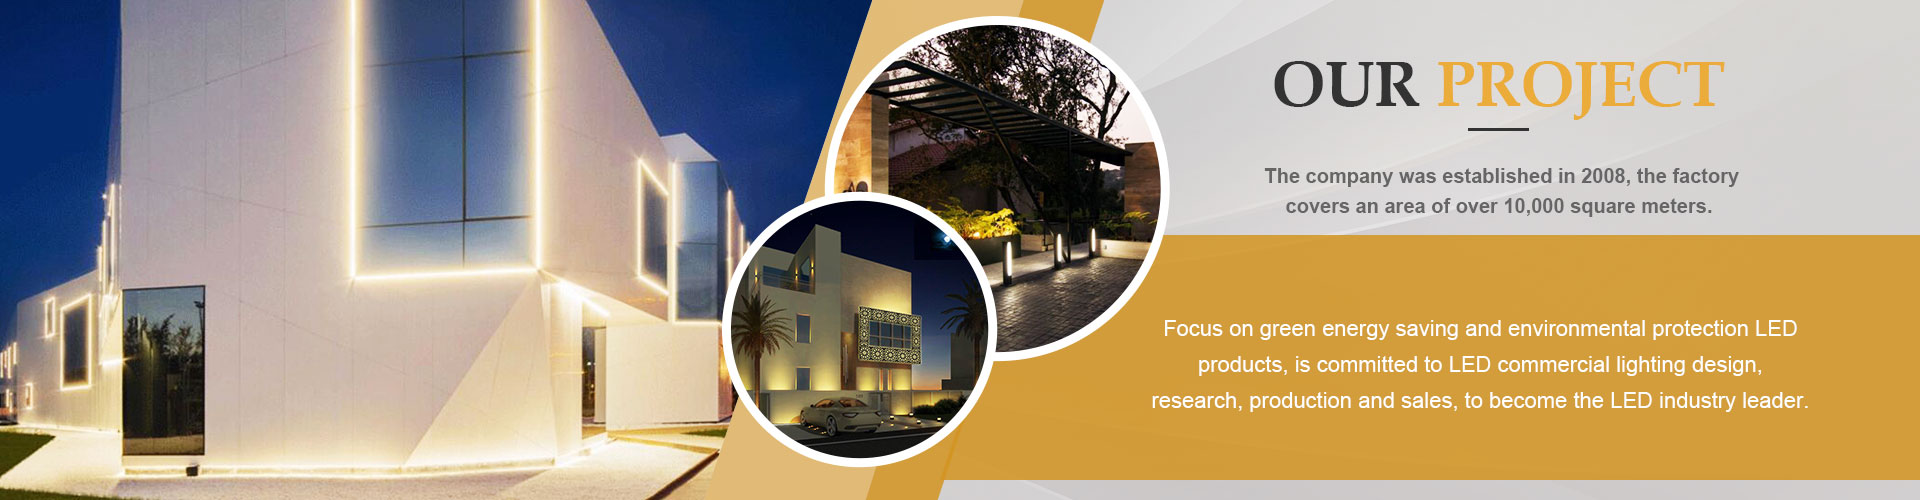
Facade Lighting
Solar LED Light